
Tips for a great Garlic Harvest!!
Growing garlic is possibly the easiest and one of our favorite items to grow in our garden!! It tastes delicious and can be preserved in so many ways. But growing the garlic is what we will be talking about today!!!
We are in Zone 6b, located in West Michigan. Our growing seasons are on the shorter side, with unpredictable and harsh winters. Hard-neck Garlic has a very stiff stem that must be removed upon harvest. It is a lot hardier for those harsher winter climates. Soft-Neck Garlic has, surprise surprise, a soft stem that looks beautiful when braided together.

The Garlic Varieties
We ordered four different varieties and couldn’t have been happier with what was sent. The company chose what would work best in our area.
Even though it is an easy plant to grow in your food garden, there are some tips I have learned along my journey that have helped our harvest significantly. These tips are tried and true for the hard-neck garlic we grow in our region.
Planting in Fall
This isn’t really a tip. But planting in the fall for Hard-neck Garlic is KEY in a great harvest. Garlic goes through a very important process during the winter. Garlic takes time to grow the root system and to get established, and the best time is when it won’t want to grow up. Now for the planting. The best thing to do is plant them in the ground about 2 inches below the surface. This may not sound like enough to get through the harsh winters here. However, you do want to cover your garlic with at least 4 inches of mulch. This thick layer of mulch will provide a nice blanket for those wonderful garlic and keep them toasty warm for the winter. That mulch will turn into wonderful compost so no worries about removing it from the bed. And BONUS, it is a great weed barrier too, so a lot less weeding on your part.
You may start to see some green shoots come up in the fall. No need to worry. Once the cold weather hits, those green shoots will pause and go into a hibernation phase. Then all the energy will be shot back down to the clove so it can produce the roots and form that delicious bulb of cloves.


Cut off those Garlic Scapes
At the end of Spring, beginning of Summer, you may go out and notice the tops starting to curl with a little bulge on them. Those are the scapes and once those start curling in on themselves, cut them or yank them off. The scapes are the flowering part of the garlic. If left on, those will flower and turn into Seeds. So cut them off.
But here is the kicker. You don’t have to throw those out or compost them. You can still harvest and use those scapes. They have a wonderful, mild garlic flavor. You can dry them and make garlic powder or use them in any dish you would normally use garlic.
Bend the stems
This one I learned recently, and I couldn’t believe it!!!! It shocked me, but it makes so much sense. When it is getting close to harvest time, you will see the stems starting to turn brown at the base. It will work its way up and when you notice, at least, three leaves brown, they are ready to harvest. However, instead of just leaving the garlic as is and harvest when ready. Instead, when you notice the stem turning brown, bend it at the base.
This will allow the bulb to retain all the nutrients it would have sent up the stem and keep them in the cloves. Through this process you will find the garlic will actually grow in size even more. After bending the stems, give the garlic about a week or two and it should be ready to harvest!!!
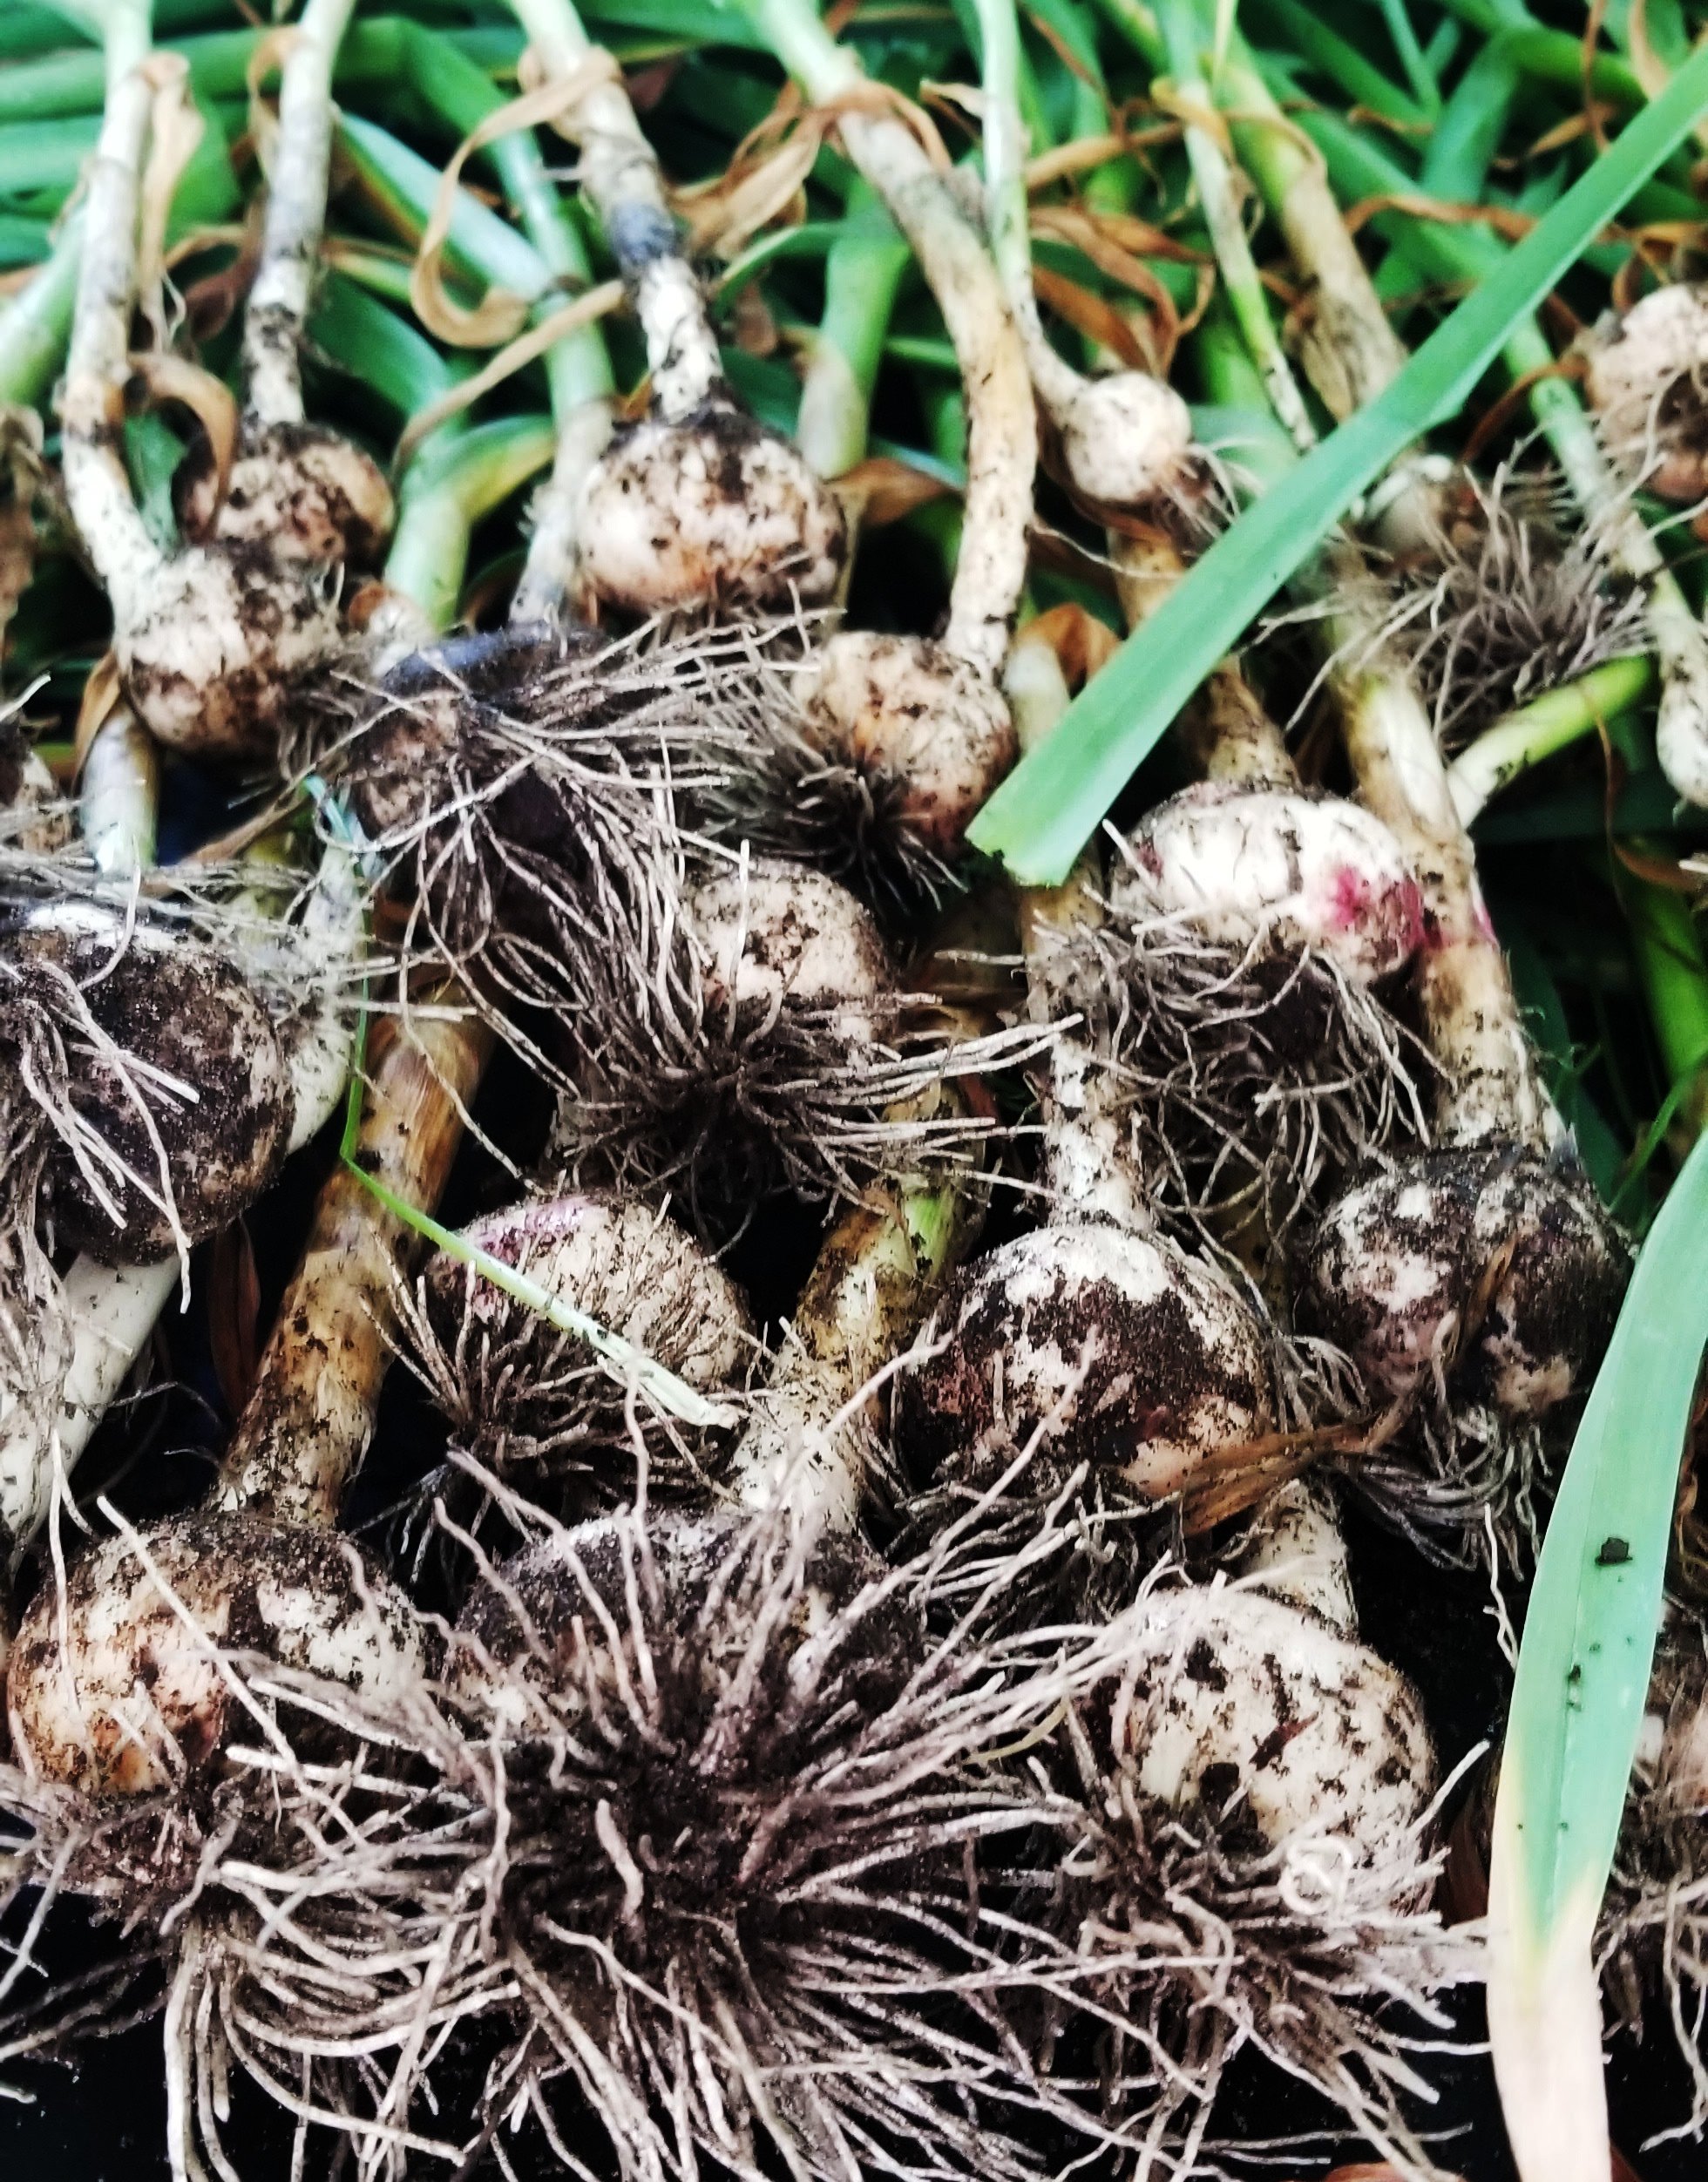
Harvest when the ground is dry
This one should make sense, but it is still a step I always make sure to follow!!! Harvesting when the ground is dry, makes the curing (or drying out) phase a lot more manageable. The paper coating on the garlic will not take as long to get to that dry protective state and it will be a lot easier to shake off the soil that will sit on it. Make sure to cut off the roots shortly after removing from the ground. The stem can stay on longer till it dies away.
After all that the curing process is fairly easy. All you have to do is make sure you place the garlic in a dark, cool place with ventilation. It takes a few weeks till ready, but you have your harvest. After the curing phase you can store your harvest, just make sure it is again in a cool, dark place. Soft-neck garlic can easily be stored by braiding it together, similar to a French braid, and then hanging in a basement or pantry. For Hard-neck garlic you will want to remove the stem and then store the garlic in your pantry or basement in a cardboard box or something that will allow ventilation.
There you have it, now go out and start planning your garlic bed!!! You will be amazed at the difference between your own homegrown garlic and store-bought!!!